
To build a no-dig garden bed on a balcony, start with a freestanding planter, container potting mix and a surface covering of mulch. Keep the growing mix in place between crops and replenish it from above. This borrows the low-disturbance principle of no-dig gardening without turning a small container into a stack of decomposing scraps.
The balcony version needs a base and drainage outlets. An open-bottom garden-bed frame placed straight onto tiles is the wrong starting point.
1. Select a container that fits the balcony
Choose a purpose-made planter you can reach across without stepping into it. Leave room to walk past, water comfortably and inspect the outlets. Start with one manageable bed; expanding a successful setup is easier than maintaining several crowded boxes.
Before buying a large planter, establish the balcony’s load capacity with the building manager or an appropriately qualified professional. Include the container, wet growing mix and stored water in that assessment. An empty lightweight tub says little about its filled weight.
Match the planter’s growing depth to the mature crops you want. Check its manufacturer instructions for assembly, support and drainage arrangements rather than assuming every raised planter works the same way. Keep it freestanding and clear of floor drains.
Observe where direct sun actually reaches the proposed position. Overhangs and neighbouring buildings can make the balcony’s compass direction misleading. Our guide to reading sun and shade around your balcony helps you assess the planting spot.
2. Build layers for growing, not a gravel drain
The useful balcony layers are straightforward: container mix, a modest surface addition of mature compost when needed, then mulch. Do not add a gravel layer beneath the mix. It takes up root space and does not improve container drainage, as explained by University of California horticultural guidance.
Leave drainage outlets unobstructed. If the planter has a supplied drainage insert or liner, install it according to its instructions. Do not improvise a sealed lining in a planter meant to drain freely.
Skip the cardboard weed barrier used over lawn in many ground-level no-dig beds. There is no lawn to suppress inside an empty planter. Likewise, avoid filling the bottom with branches, thick straw layers or fresh kitchen scraps. For this small-space method, compost those materials separately and use finished material later.
Aeration comes from a suitable growing mix and avoiding compaction. Fill without stamping it down, then water gently to settle it.
3. Choose a versatile container mix
Use a potting mix intended for outdoor containers and suitable for your selected edibles. Follow the bag’s handling and use instructions. Garden soil, pure compost and potting mix are different materials; a balcony bed still behaves as a container, however much it resembles a vegetable patch.
Gardening Australia’s pot-selection guidance emphasises matching the growing medium to the pot and plant. A ready-made container mix is a simpler starting point than a homemade recipe with several unverified ingredients.
Leave space below the rim for watering and mulch. If the mix already contains compost, there is no need to add another generous layer at setup. Later, use mature, crumbly compost as a light surface dressing when refreshing the bed, without burying plant crowns.
Cover exposed mix with loose organic mulch, keeping it away from stems and tiny seedlings. ABC’s compost and mulch explainer makes the distinction clear: mulch stays on top. Choose a material that stays reasonably contained on your particular balcony.
4. Plant for repeat harvests and seasonal change
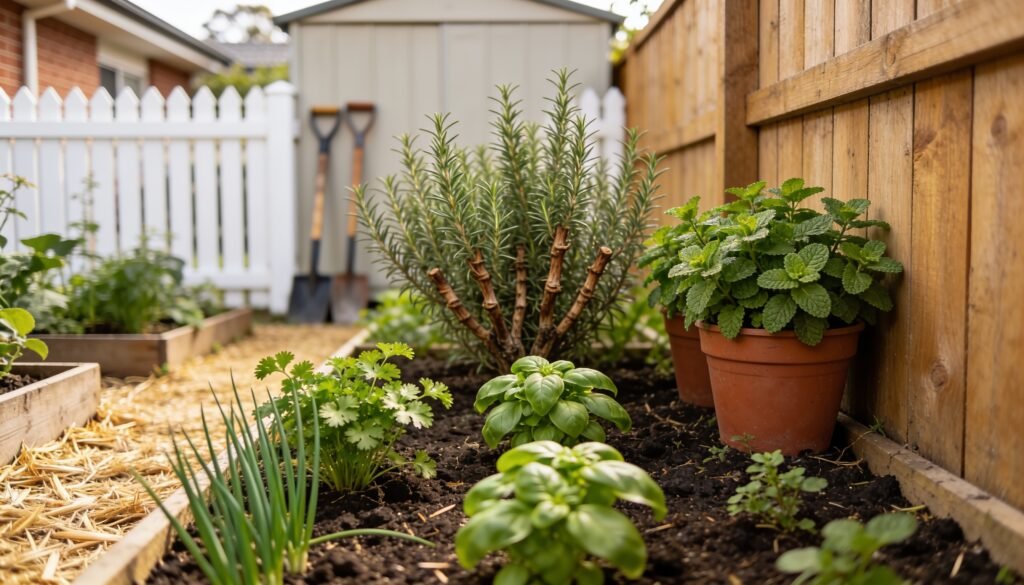
For a first bed, choose a small selection of leafy vegetables and herbs you actually eat. Group plants with similar moisture needs and allow their mature spacing. Crowding in extra seedlings creates more thinning, watering and replacement work.
Use the crop and container matching guide to narrow your choices before shopping. A compact harvestable plant is often more useful here than a sprawling crop that occupies the whole bed.
Year-round growing means changing crops, not expecting one planting to last indefinitely:
- Sydney and coastal temperate NSW: autumn options include lettuce, silverbeet and bok choy, supported by the Botanic Gardens of Sydney’s vegetable guidance. Choose varieties for your available light and space.
- South-east Queensland and subtropical balconies: use a subtropical planting calendar rather than carrying Sydney dates north. Check the crop and variety’s local sowing window before replacing each harvest.
- Tropical, cool and inland locations: use guidance for your own zone and exposure; this Sydney setup is not a national planting timetable.
Replace a small section at a time so the whole bed does not become empty together. Make individual planting holes instead of turning over the entire container.
5. Make watering and maintenance easy
Check moisture beneath the mulch before watering. Water slowly across the root area when needed, allowing excess to escape. Wind and exposure change how quickly a bed dries, so a fixed weekly schedule is a poor substitute for checking.
After rain, inspect the mix rather than assuming it was watered: sheltered balconies can miss rainfall. Keep outlets clear and avoid leaving a freely draining planter sitting in collected water.
During regular checks, harvest usable leaves, remove weeds while small and look for blocked drainage or displaced mulch. Between crops, trim out spent plants with minimal disturbance and replenish the surface as needed. Follow the label for any supplementary plant feed.
No-dig does not make potting mix permanent. If it becomes persistently compacted or drains poorly, investigate and refresh it rather than preserving a failing bed for the sake of the method.
Before adding another planter, read the related live guide to planning a workable balcony garden.

 By anastasnowla@gmail.com
No comment yet, add your voice below!