
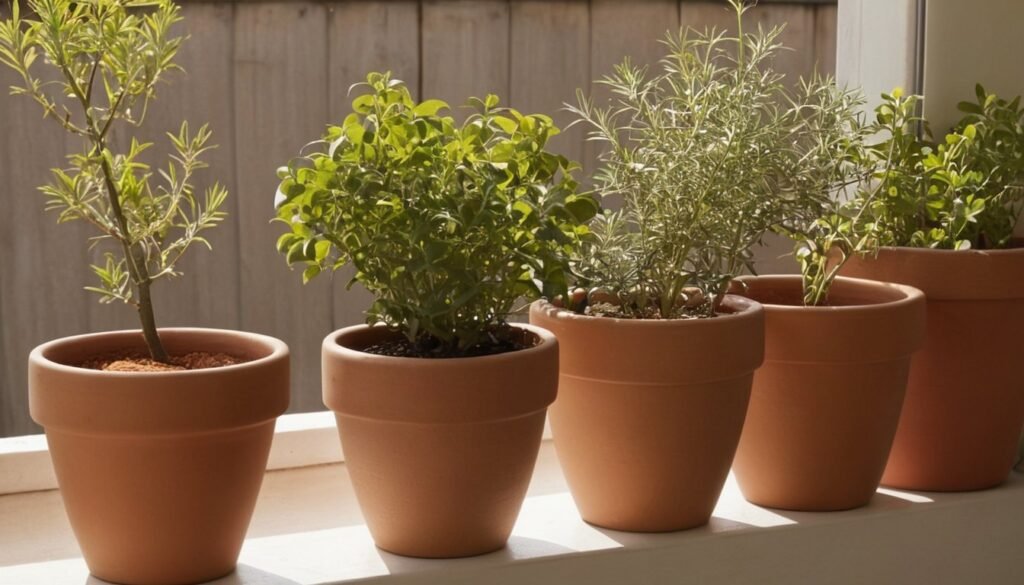
Grow mint in its own pot, not in a garden bed. Mint spreads by runners, and a container is the simplest way to keep it where you put it. Give it a large pot with drainage, steady moisture and some shade from the hottest afternoon sun.
Do this and you get a reliable supply of leaves without a plant creeping through the herbs and vegetables around it.
Why does mint take over garden beds?
Mint sends out underground stems that root and shoot as they go. The RHS mint guide says mint spreads quickly and is best grown in a pot, because its rhizomes can colonise nearby soil. The University of Florida IFAS spearmint fact sheet says the same about runners.
That is a garden-behaviour problem, not a legal one. A bed is simply a poor place for a plant that will crowd out neighbours and regrow from small root pieces left in the soil.
If you must plant mint in the ground, the RHS suggests sinking a bottomless container or a pot with large drainage holes, leaving the rim slightly above the surface so shoots cannot root over the edge. A cracked pot defeats the purpose, so check old containers first.
Which mint should you grow?
The traditional mints are spearmint (Mentha spicata) and peppermint (Mentha × piperita). The RHS describes spearmint as a good choice if you only have room for one. An Australian growing guide also lists apple and basil mint, and notes peppermint is a sterile hybrid that rarely sets viable seed.
Plant different mints in separate pots. Separate pots keep each mint’s flavour identifiable and stop roots tangling through drainage holes.
Buy mint labelled for culinary use from a reputable nursery, and check the label for the exact type.
What pot size and potting mix suit mint?
Choose a pot at least 30 cm across with drainage holes, and use a free-draining potting mix with some compost. Mint likes moist, rich, well-drained soil, according to the IFAS fact sheet. Standing water leads to root rot, as the Australian guide points out.
| Situation | What to do |
|---|---|
| New plant | One plant per pot, centred |
| Pot on paving or balcony | Stand on feet so water drains freely |
| Small pot | Expect to water often and repot sooner |
| Several mints | One pot each |
Larger pots hold moisture longer and need less frequent watering. Compare this with the herbs and vegetables in our guide to growing vegetables in pots, which covers pot size and mix more broadly.
How much water and sun does potted mint need?
Keep the mix evenly moist, never soggy and never bone dry. The RHS notes pots dry out faster than ground, so check them regularly in hot, dry weather. The Australian guide says potted mint in warm climates may need water more than once a day in the hottest weather, so treat any schedule as a starting point and check the pot with your finger.
Light depends on where you live:
- Tropical and subtropical (northern and coastal Queensland, Top End): give morning sun and shade from the harsh afternoon, especially from late spring to early autumn. Leaves scorch and pots dry out quickly in direct summer heat.
- Temperate (Sydney, Melbourne, Adelaide, Perth): full sun to part shade works in spring and autumn; move to part shade in heatwaves.
- Cool climates and Tasmania: full sun is usually fine in summer. Growth slows in winter and stems may die back.
- Arid and inland: afternoon shade is more important, and pots may need a sheltered spot out of hot wind.
The RHS says moving pots into a shadier spot in hot weather reduces how often you need to water. The Australian guide suggests about six hours of sun in summer, with partial shade in hotter areas. These are general guides; your balcony aspect matters more than your postcode.
How do you harvest and cut back mint?
- Pick young, soft shoot tips regularly. The RHS says the more you pick, the more the plant produces.
- Pinch above a pair of leaves so the stem branches into two.
- Take no more than about a third of the plant at once, so it keeps growing. (This is a common-sense editorial limit rather than a sourced figure.)
- When flowering finishes, cut the plant back hard, to about 5 cm above the base. The RHS says new shoots should be ready within a few weeks.
- Remove flowering stems early if you want leafier growth.
If winter slows or dies back the top growth where you live, cut old stems back before new shoots emerge and keep the pot lightly moist.
What is that orange dust on my mint?
Pale, distorted shoots, then orange pustules on leaves and stems, later turning yellow or black, are the signs of mint rust. The RHS mint rust page lists these symptoms. Large areas of leaf can die and plants may lose leaves.
Hygiene is the practical response:
- Remove affected plants or heavily marked stems promptly, before black resting spores form.
- Bin the material rather than composting it. This is cautious editorial advice, since the RHS page says only to dispose of diseased material carefully.
- Clean secateurs and scissors after cutting infected growth.
- Water the soil, not the leaves, and give pots room for air to move.
- Replace the potting mix if you start again with a healthy plant.
The RHS states that no fungicides with activity against mint rust are available for mint or other cooking herbs, so do not look for a spray. Keep infected pots apart from healthy ones.
Rust is not the only reason leaves look poor. Heat scorch, dry pots and waterlogging can all look similar, so check your watering before assuming disease.
How do you divide and refresh an old pot of mint?
Pots fill with roots and the plant tires. The RHS says to repot every few years, depending on pot size, either moving up a size or dividing the clump and replanting a section.
- Divide in spring or autumn, avoiding the hottest weeks. In the tropics, the cooler dry season is the sensible choice.
- Tip the plant out and cut the rootball into sections.
- Discard old, dead or woody material from the centre.
- Replant one or two healthy sections in fresh potting mix.
- Water well and keep out of harsh sun for a week or two.
Spare divisions can go into new pots for friends. Keep them in containers too.
Where does mint fit on a balcony?
Mint copes with part shade, which suits the cooler corner where fruiting crops struggle. Our balcony gardening guide for Australian conditions covers weight limits, wind and layout, and the pollinator-friendly balcony garden guide explains how flowering mint can fit in, although cutting back before flowering gives better leaves.
Common mistakes to avoid: planting mint straight into a bed, sharing one pot between several mints, letting the pot dry out in heat, and leaving a crowded pot for years without dividing it.

 By anastasnowla@gmail.com


No comment yet, add your voice below!